Mojo Quick Start Guide
This is a Quick Start Guide to the Mojo Wallet. It will cover the setup of the wallet for sending and receiving MCM through Tags.
The Mojo wallet is the official GUI wallet of the Mochimo cryptocurrency. It was released for open beta on December 25, 2018. It is built in Java 8, making it available for all major operating system (Windows, Linux, OS X).
Contents
Wallet Terms:
Wallet - You will have one wallet that will contain all the accounts, Tags and addresses you create. This is the *.mcm file, it is what you will load to open the wallet and also the file you will need to backup to restore your wallet if needed.
Account - This is the easy-to-remember name for you that will reside in your personal wallet that contains an optional Tag and the addresses associated with that account.
Tag - Tags allow wallet users to keep a small 12-byte hexadecimal address (24 hex character long string that you can personalize) that will effectively become their "account" number. This account number will follow them from transaction to transaction while allowing the wallet to use large WOTS+ addresses behind the scenes on the backend to keep the true addresses themselves safe from quantum attack. The Tag can be used by a Sender to send to the Recipient. The Tag is used to represent the underlying one-time WOTS+ addresses that will change every time a spending action happens. By using Tags, the end-user doesn't need to see any of this happen and only needs to remember their Tag. You can think of a Tag as a permanent ID that won’t change and can continue to be used as many times as you want.
Address - A WOTS+ address is a uniquely generated 4096 characters long string (2208 bytes) that creates the quantum resistance due to its extreme largeness and complexity. WOTS+ addresses are by design One-Time-Spend addresses making it impossible for attackers to figure out, well... anything, making the chain truly resilient. However, what this means is that every time an address is spent from, you need a new address in which to place a change address to then spend again from the same wallet. Instead of finding and using these secure addresses manually, the patented Tag system was created to find the change address and relink it for you automatically. There is no need to remember or find the WOTS+ Address as you will be using the Tag for sending/receiving instead. The WOTS+ address is what offers the quantum-proof security and the Tag will not compromise that security.
Secret - Sometimes refered to as private key. It the key that unlock the coins stored on an address. Whoever control this key control the coins. A secret can be deterministic (marked D) or random (marked R). Deterministic secrets are generated from the seed phrase and can be restored with it. Random secrets can only be restored from a backup file.
Mochimo Fountain - A wallet controlled by the Mochimo team that is solely used to fund Tag activations. Tags will be funded with 0.000000501 MCM. There is a limit to the number of Tags in a certain amount of time a user can activate.
Seed - A group of 24 words randomly generated upon wallet creation. These can be used to restore the wallet, even if you lose the file or forget the password.
Installation
Prerequisites
A desktop or laptop computer that can run at least Java version 8.
Setup
Mojo is a portable application that requires at least Java version 8 to be installed in order to run.
- Go to https://www.java.com/en/download/ to download and install Java.
- Download the GUI wallet (Beta version)
- In most cases, double clicking the JAR file is sufficient to run the application. If this fails, it can be started by entering the following command into a CMD or Shell terminal:
java -jar [Mojo jar file].
Create a wallet file
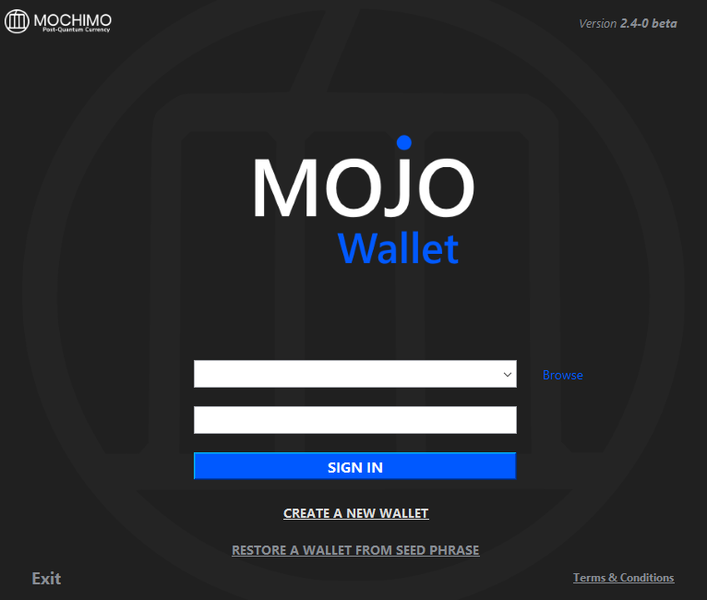
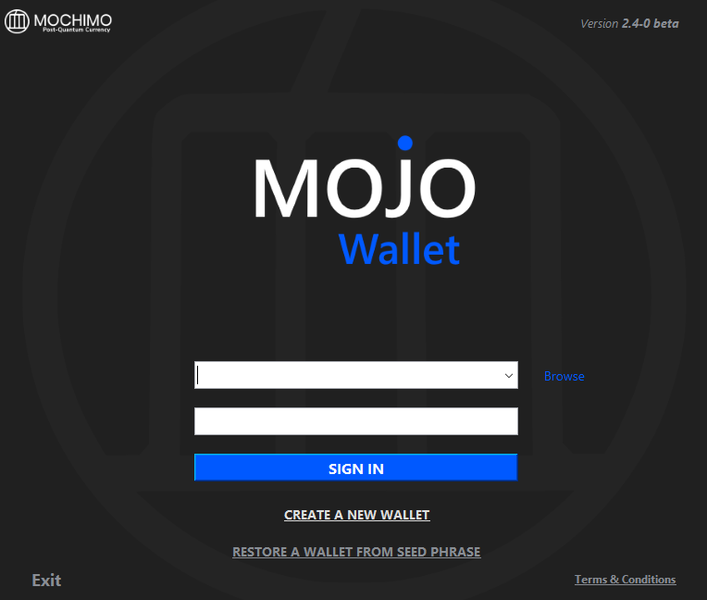
- Start Mojo and click on the CREATE A NEW WALLET button.
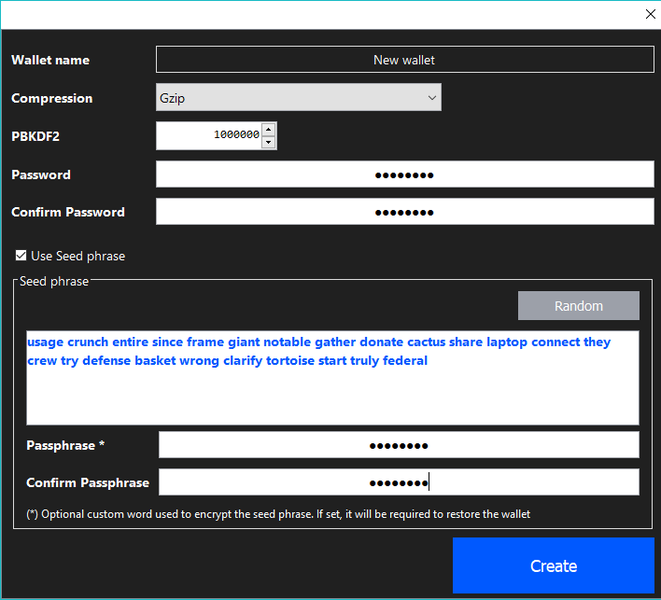
- Enter a name for the wallet (optional) and a password. You must remember this password or you will not be able to access your wallet.
- Default compression GZIP reduces the size of the wallet file on the disk.
- PBKDF2 is a password hashing algorithm that protects against brute force attack in case your wallet file is compromised. The time necessary to break the password increases proportionally to the number of iterations. The more iterations, the longer it takes to break. However, a high number of iteration can result in slower read/write operation on the wallet file.
- If you choose to use seed phrase, make sure to write it down and store somewhere safe. You can even click the Random button to generate a new seed if you wish to.
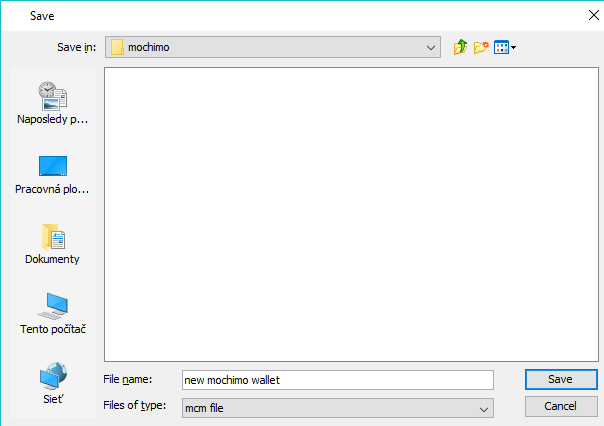
- After clicking the Create button, you can choose a folder, where you want to save your wallet file and how you want to name it. Click Save.
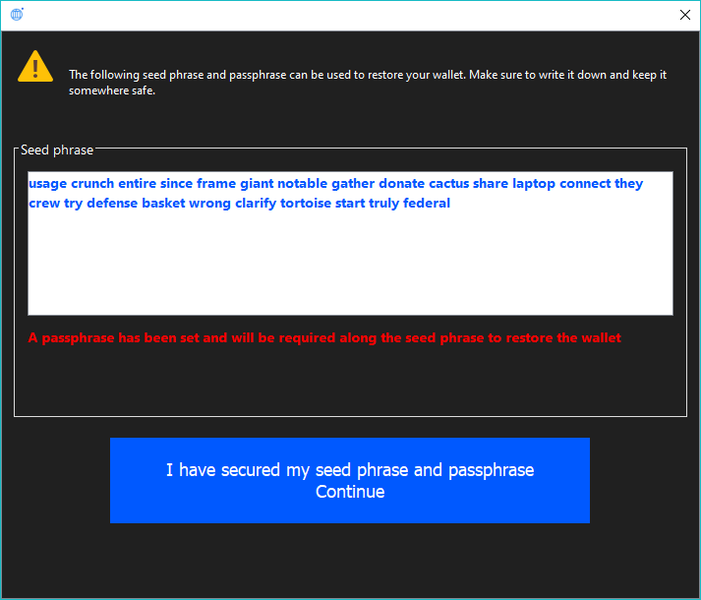
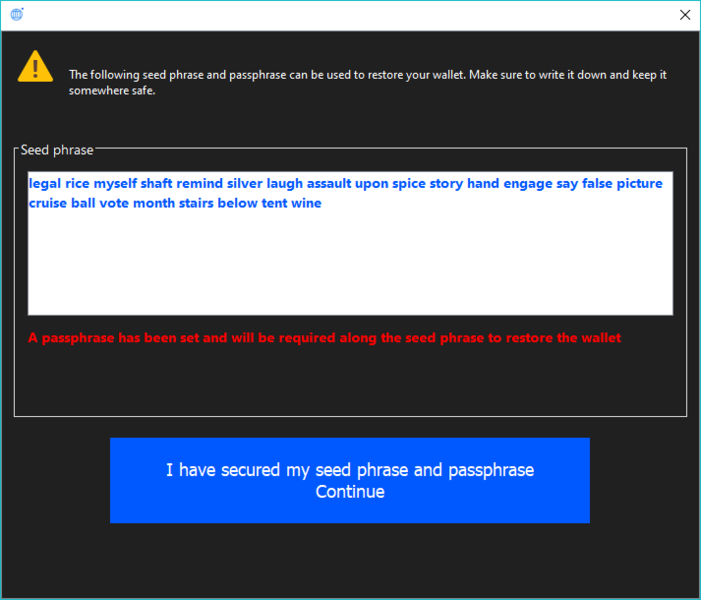
7. In the next step, confirm that you have safely stored your seed and passphrase.
8. You have now successfully created a new wallet.
Address management
Create a Tag and Activate an address
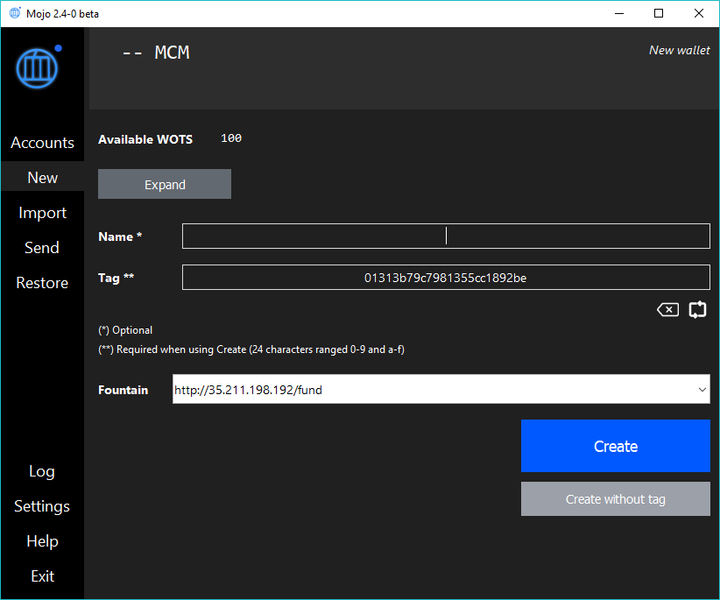
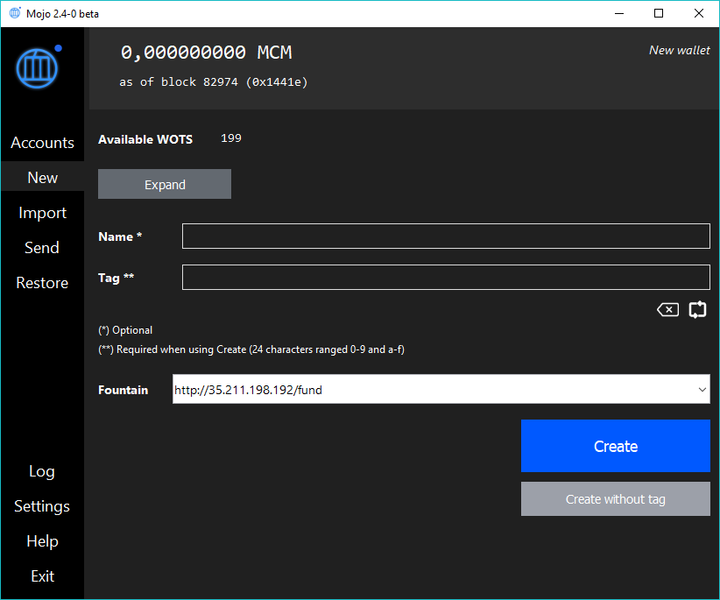
An address can be activated from the pool under the New tab. Fill in an easy to recognize account name for your Tag. This is where you can personalize your Tag with 24 hexadecimal characters. Hexadecimal characters are letters from A to F and numbers from 0 to 9. After you fill in the fields, click Create to activate the Tag through the Mochimo Fountain. You can also choose to create an address without a tag. This is used when creating a new mining address. For more information, check out our Windows Headless Miner guide.
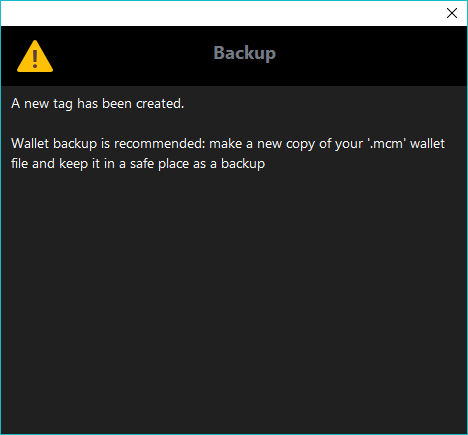
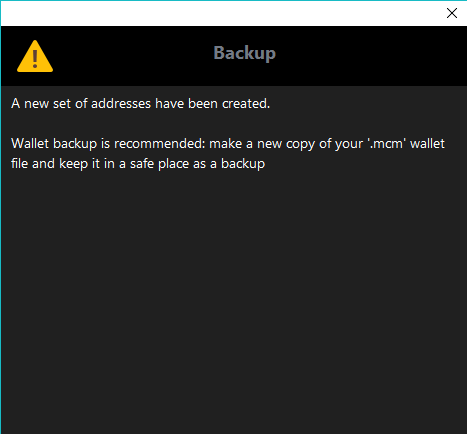
After creating a new address and tag, it is recommended to make a backup.w
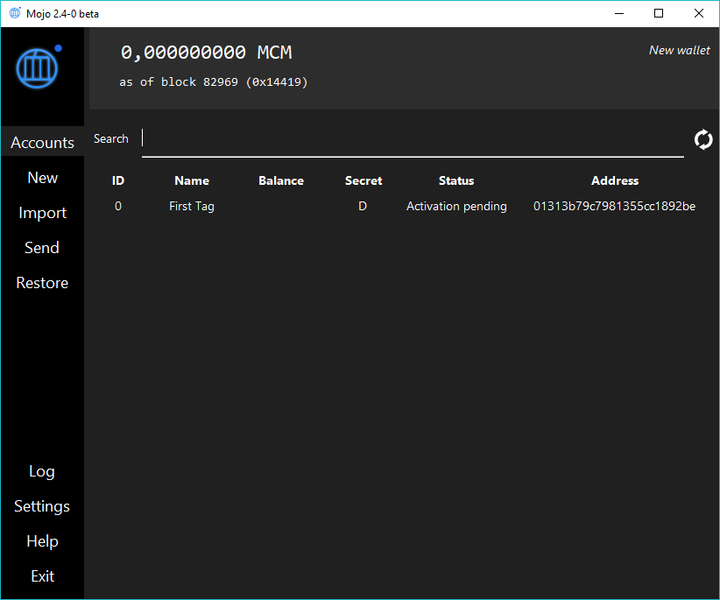
The fountain will register the Tag in the network by sending a specific transaction and funding the account with 0.000000501 MCM. Depending on the fountain and the network state, the registration can take several blocks to be processed. Until the registration is completed, the account status will display: Activation pending
Once the account is funded, the status will show Active with a balance of 0 MCM (although in reality, the balance is 0.000000501 MCM). 0.000000501 MCM is currently the smallest possible amount for an account and Tag to exist on the network. If you ever perform a send from the account that empties the balance of that account to 0, the Tag will be free for anyone to register and you will not receive any future funds sent to that Tag. Always make sure to have a balance of at least 0.000000501 MCM in that specific account and Tag.
Address pool
The wallet file contains a pool of one-time-use addresses which are used during operation (creating a new address, rolling a source address into a change address, etc). The Mojo wallet will use these addresses as needed to process user requests. Upon creating a new wallet, you also get a pool of 100 addresses, which should be enough for many transactions.
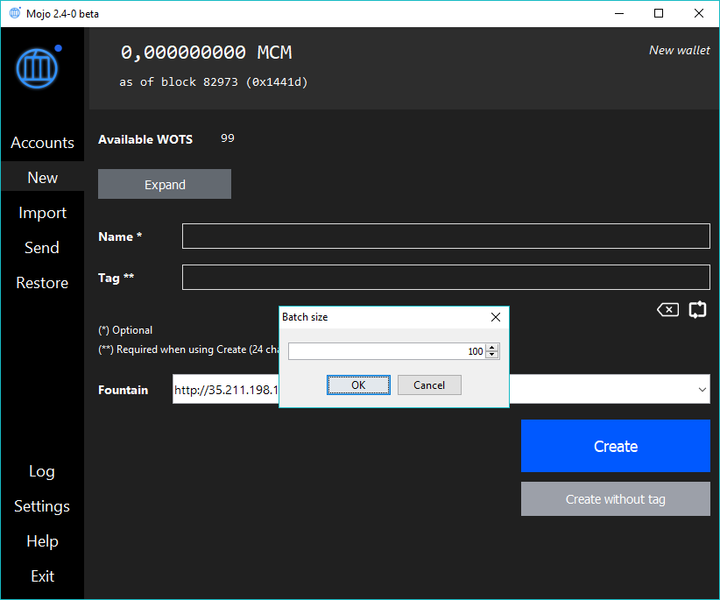
Once this pool is exhausted a new expand must be performed. In order to do that, navigate to New tab and click Expand button. You can choose how many new addresses you want to generate (the default number is 100).
You can always see how many addresses are left in the pool next to the “Available” heading in the top-left.
Backup the wallet file after the expansion is completed. Go to the folder where you saved the *.mcm wallet file and copy it to a backup location of your choosing, such as an encrypted USB stick. As a best practice, you should do this every time you expand the pool and create a new Tag. A separate guide on how to keep your backups secure is being created, check back soon.
Account Dashboard
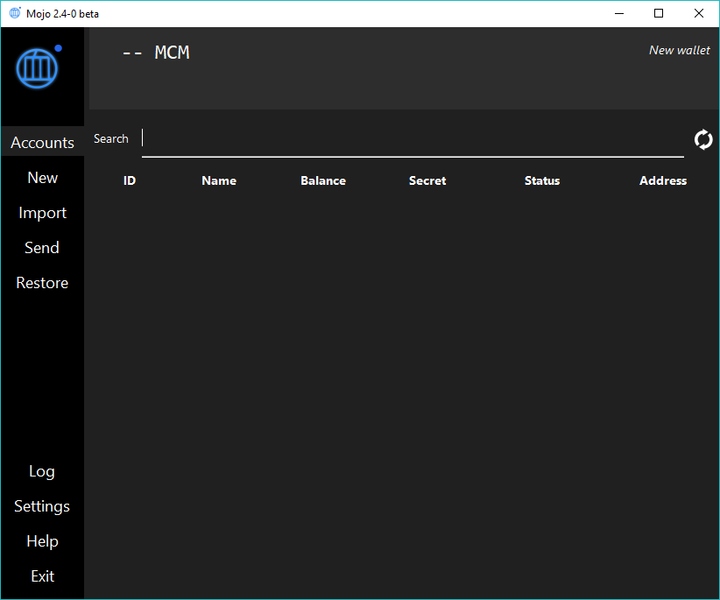
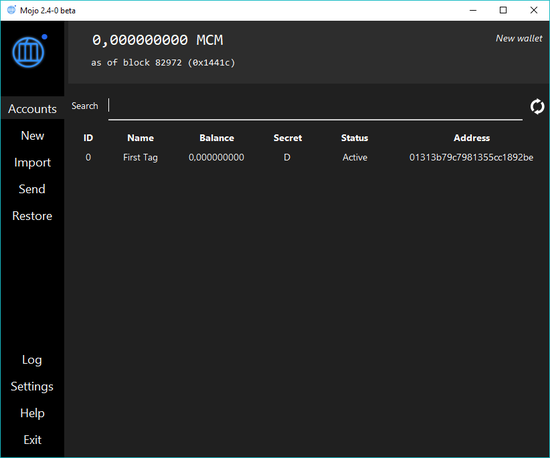
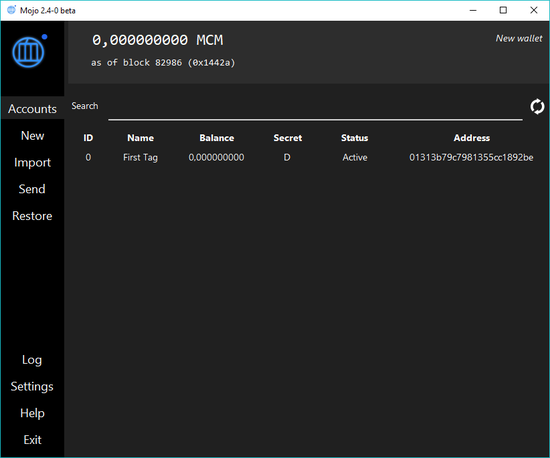
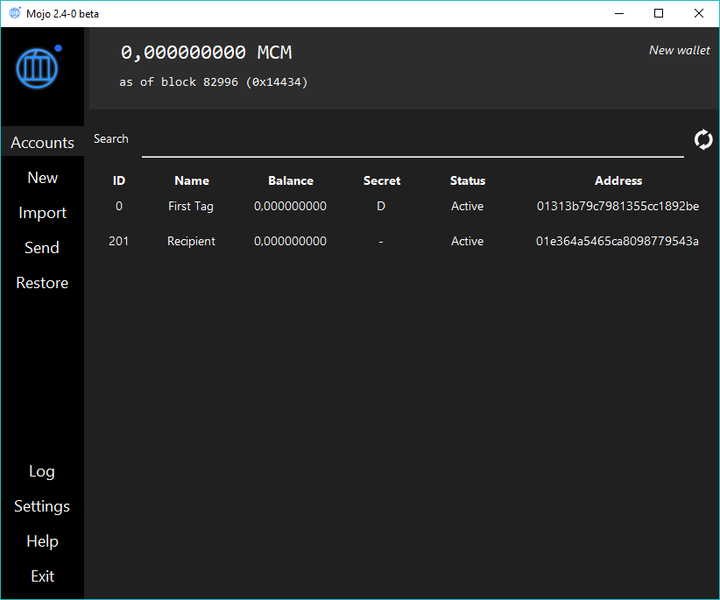
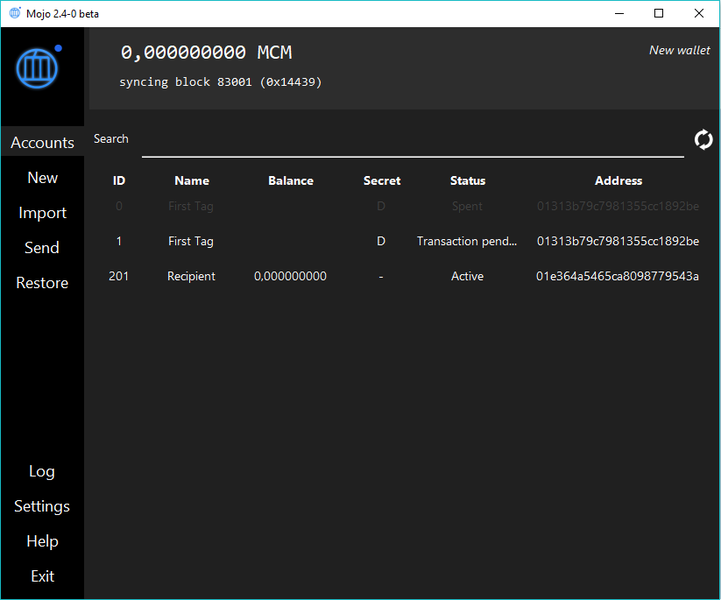
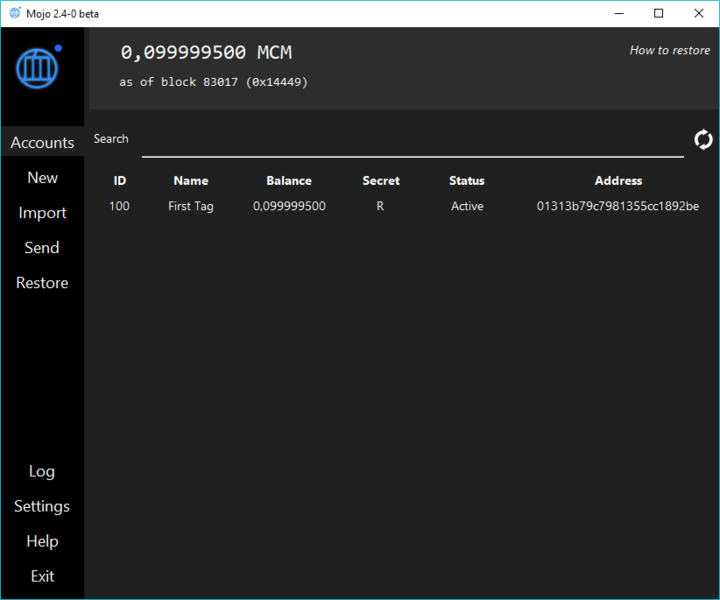
All accounts, Tags and active addresses can be found under the Accounts tab. By default, only Active and Spent accounts are being displayed. Spent accounts will be grayed out. You can display all accounts by inputting * in the Search field at the top. You can remove an account (for example a Spent account) from the dashboard by deleting the account (see Account window).
Account Window
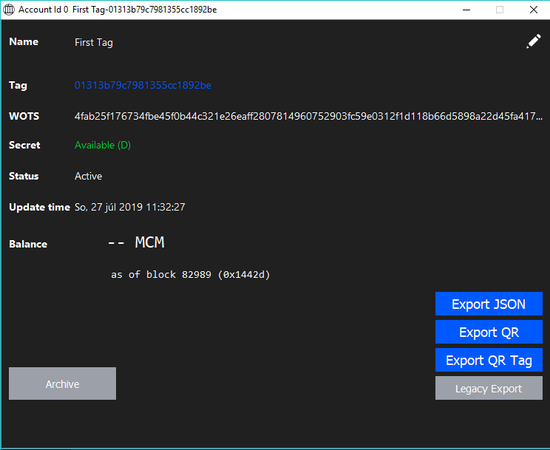
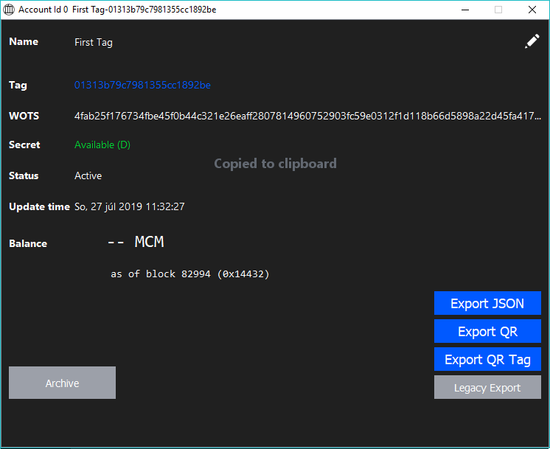
Double click an account from the dashboard to open the Account Window. This window is account specific and contains all the info about an account. You can copy the name, Tag or address of an account onto the clipboard by double-clicking it. The various export options offer different ways to share your addresses with others, but for the quick start guide, we will focus on the easiest way to share and receive MCM. The Archive button will flag the account and remove it from the Account Dashboard the next time you start the wallet.
Receive Mochimo
In order to receive MCM, the recipient provides the sender with a Tag that the recipient created. As the recipient, double click the account you want to receive MCM into to open the account window. In the Tag field, double-click your Tag to copy the Tag’s 24 characters into the clipboard. Now, send the Tag to the sender.
Send Mochimo
If you want to send a transaction, you can do this directly from the Send tab or you can first add the recipient to you account list using Import tab. Lets first take a look at how to add a recipient to your account list.
Adding recipient to account list
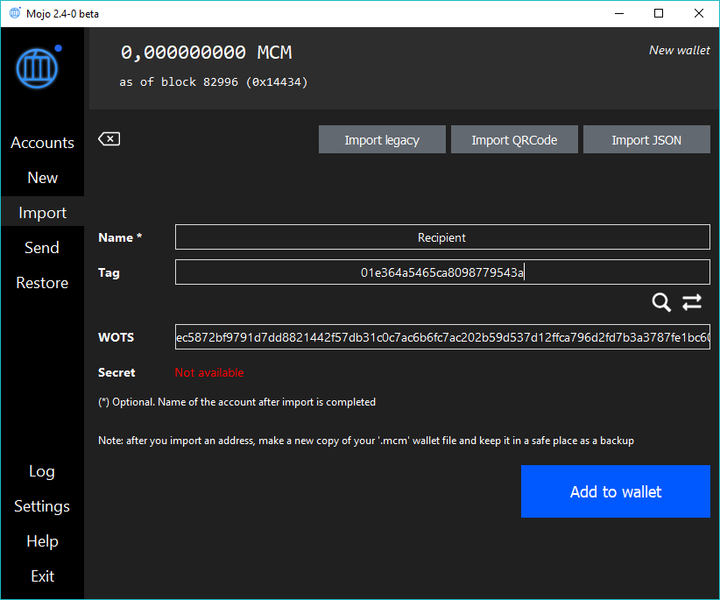
- Import the recipient’s Tag by going to the Import tab and inputting the recipient’s 24-character Tag in the Tag field.
- The tag will now automatically resolve. If it doesn't, click the icon with the two arrows to resolve
 the Tag. Resolving the Tag will check the network for the current WOTS+ address for the Tag, once found, the Address field will be automatically filled.
 - Click the Add to wallet button to add the Tag to the Accounts list.
Sending a transaction
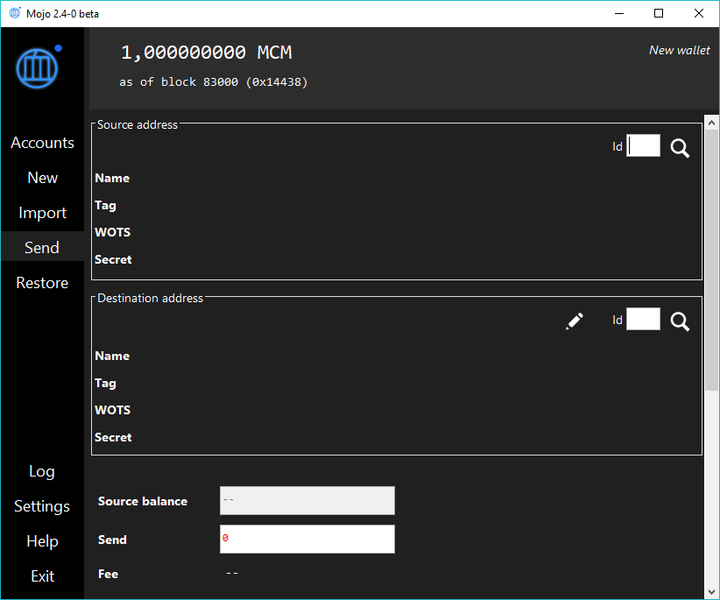
- Navigate to the Send tab
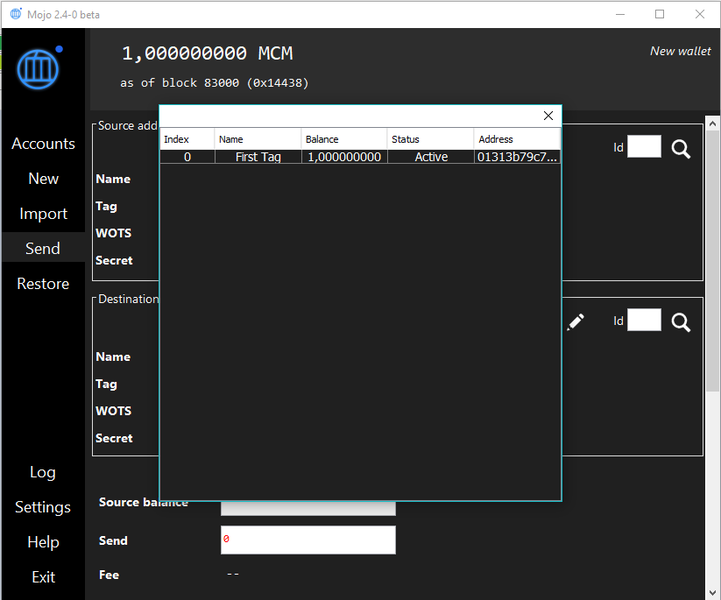
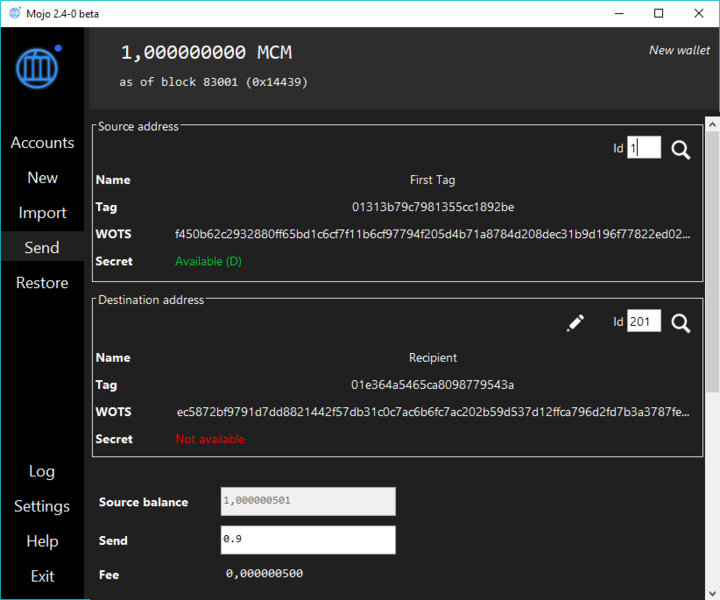
- Source address is the account with enough MCM from which you want to send from. Click the search icon and then click on the account you want to send from. The Source Address fields will populate.
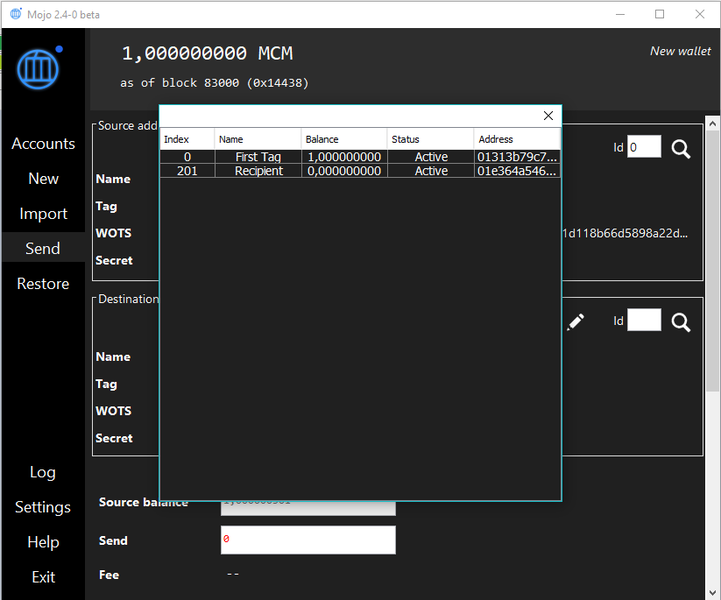
- Destination is the account you want to send to. Click the search icon and then click on the new account you imported and added to your wallet in previous steps to populate the Destination fields.
- Change is the account that the leftover MCM from Source Address will be sent to. By default, the wallet will automatically activate a new address from the pool of addresses created in setting up the wallet. The Source Tag will be tied to the new address.
- Input the amount to send.
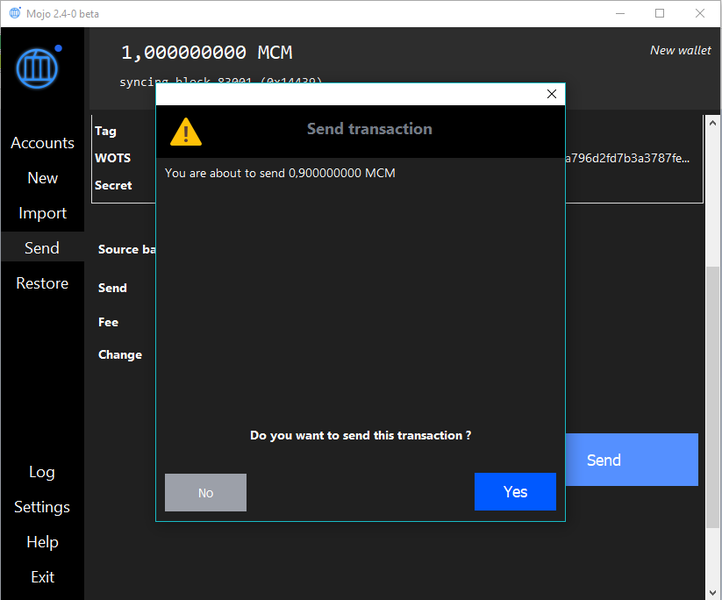
- Click Send to send the transaction through the network.
Restoring wallet from backup file
- Create a new wallet (see Create a wallet file)
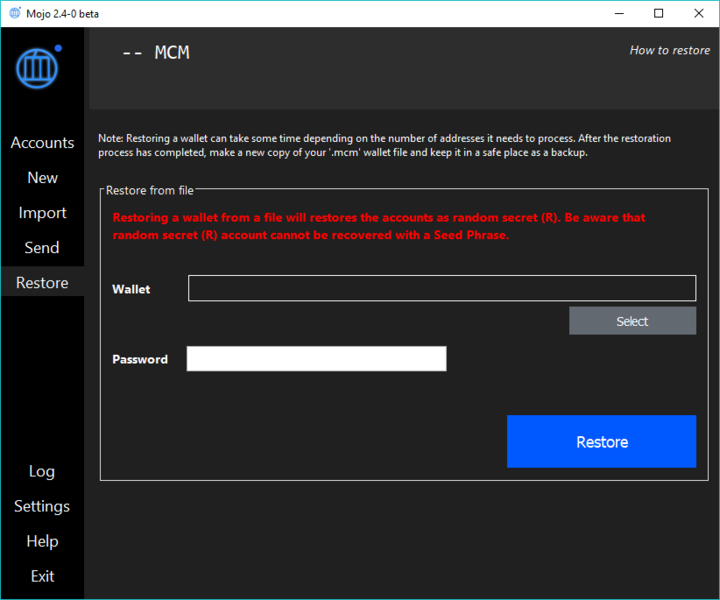
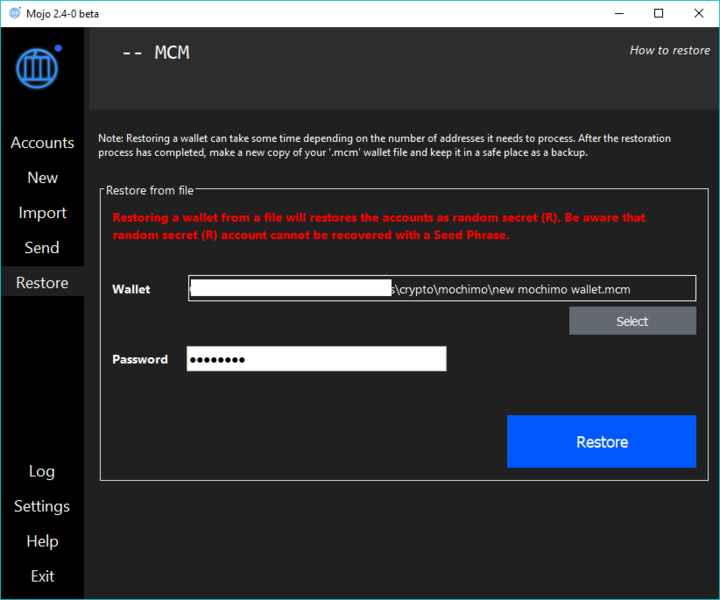
- Navigate to the Restore tab.
- Select the *.mcm backup file and input the password.
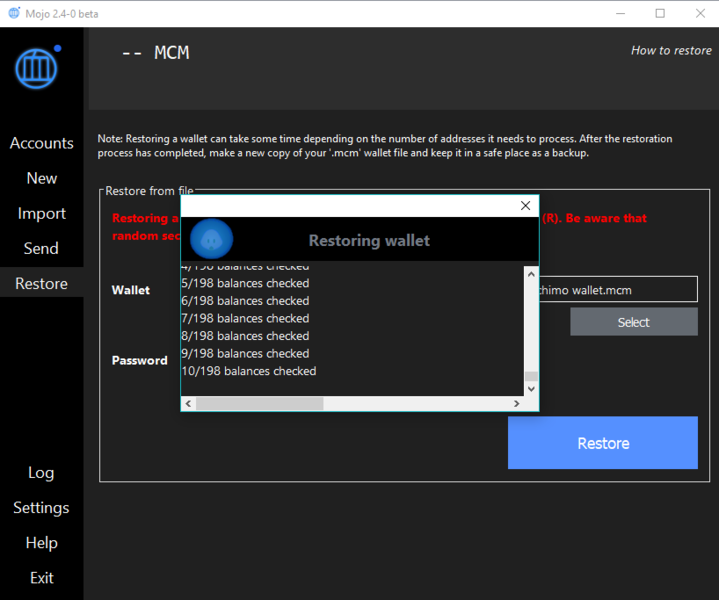
- Click Restore.
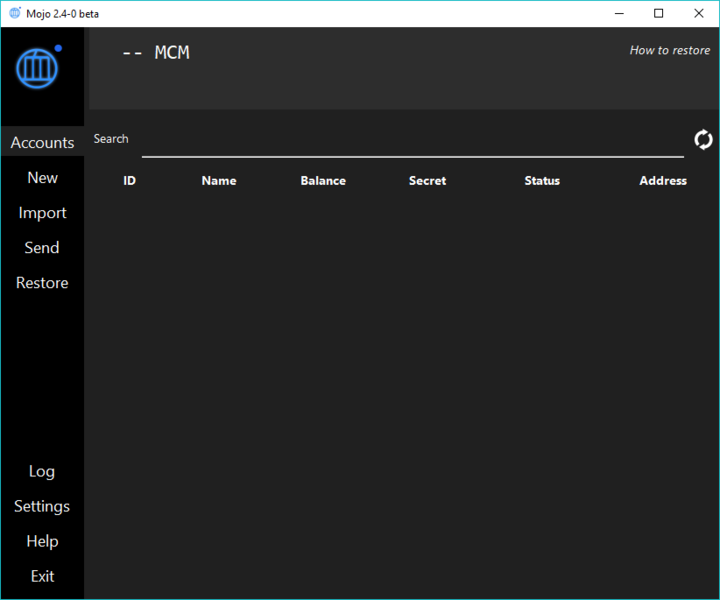
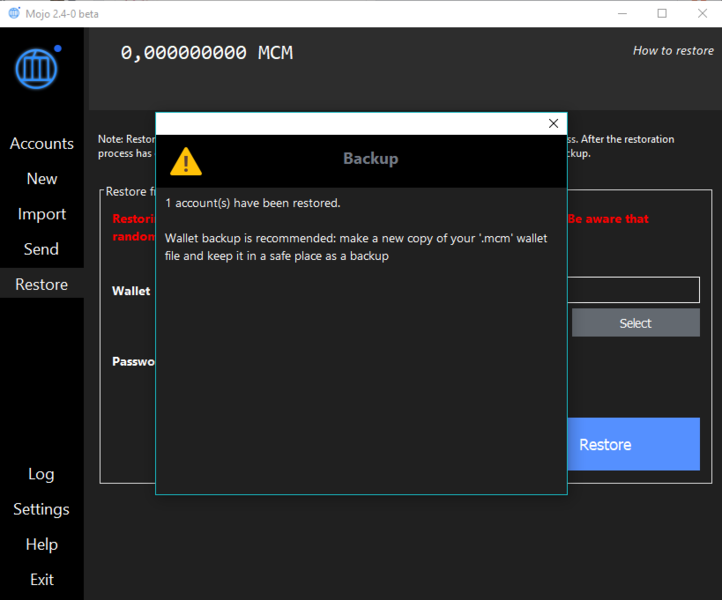
- After a while, the restored accounts will be available in the Accounts tab. This process may take a few minutes as it checks all of the wallet’s addresses (including those in the pool), with the network and grabs the necessary information.
Restoring wallet from seed
- Open Mojo.
- Click Restore a wallet from seed phrase.
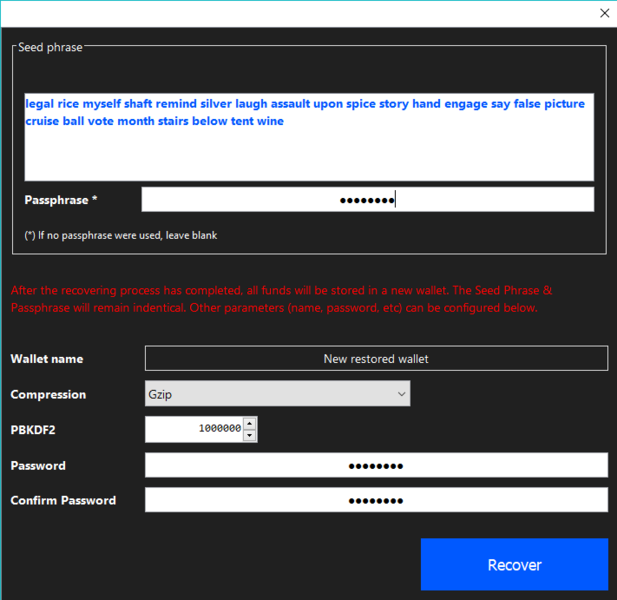
- Fill in the seed phrase you saved when you created your wallet. If you chose to protect the seed with a passphrase, fill it in as well.
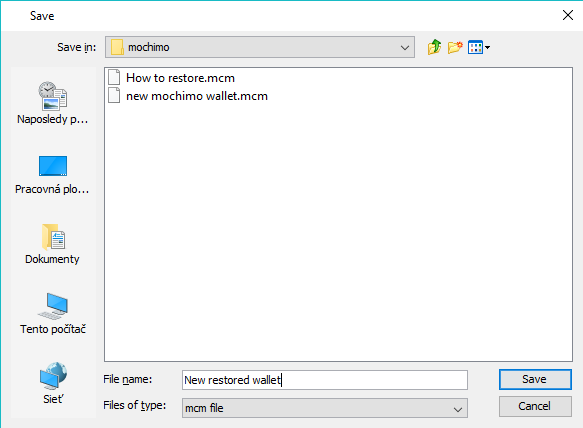
- Click Recover and choose the destination, where you want to store your new wallet file. Click Save.
- You will be asked to write down your seed, but since it's the same as the previous seed phrase, you can just keep the original file/paper. Click Continue.
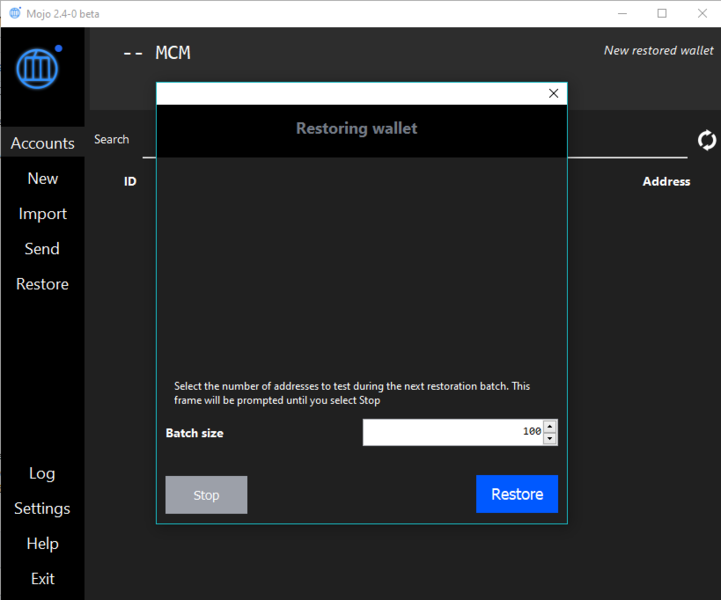
- Choose how many addresses you want to test during the recovery process. If you didn't make too many transactions, the default batch of 100 should be enough. If, however, you did make a lot of transactions, choose a number based on the number of WOTS addresses you have created with your wallet. Click Restore and wait, this process could take a couple of minutes (based on the batch size you chose to test).
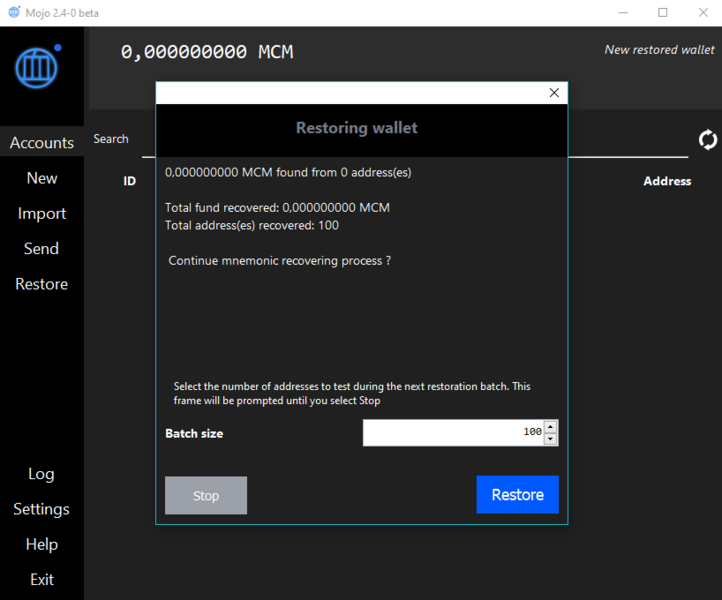
- After it finishes, it will produce a result and show, how many MCM were found and how many addresses were checked. If you're sure this number is right and you didn't have any more MCM in that wallet, click Stop. If you think you had more funds than it found, increase the batch size accordingly and run the process again by clicking Restore. Since I was trying to restore an empty wallet, my wallet found 0 MCM after checking all 100 addresses. It is recommended to make a new backup after the wallet is restored.
